Guide to Better Image Quality

Guide to Better Image Quality
Improve the image quality of your drone surveys, and get better accuracy.
Image quality can make or break your drone survey project. Accurate GCP and feature marking are wholly dependent on the quality of the imagery collected which will ultimately define whether or not your drone survey project is a success. The good news is that collecting the best image quality is not overly complicated, and no, you don’t need the highest megapixel camera out there to achieve excellent results.
The Camera
The tool you collect your data with is arguably the most important part. You don’t need the most expensive, highest megapixel camera out there, but there are some minimum specifications that should be met to be sure you’re collecting the best data possible.
20MP Sensor- anything less than 20MP will not produce high enough image quality above 200’
Global Shutter- Rolling shutters cause image distortion, most notably over moving objects.
Read more about The Best Drone for Land Surveying
Luckily for us, we don’t have to do too much shopping around for these specifications, as they already exist on the most widely produced airframe in history, DJI’s Phantom 4 Series. The Phantom 4 Pro V2.0 and the Phantom 4 RTK both use a 20MP sensor with a global shutter that works perfectly for photogrammetry. Higher-end mapping cameras, such as those on the senseFly eBee X or the WingtraOne VTOL mapping drone also produce great results. However, anything cheaper is what we consider to be in the consumer category, and while they can take decent looking photos for personal use, they do not produce accurate mapping results.
Lighting
The Sun
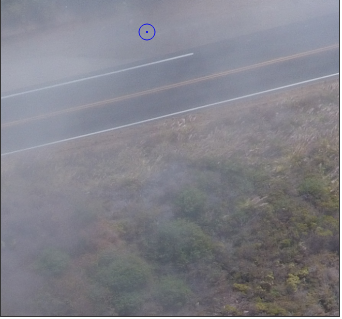
For drone surveying, the sun is our best friend and our worst enemy all at once. While we need light to expose the features in our pictures, too much can cause whitewashing issues due to overexposure, not to mention highly contrasting shadows that leave dark areas of potential missing features in our orthophotos.
It is best to fly when the sun is muted. But, how does one “mute” the sun? Clouds will do the trick. Bright overcast days are actually the best lighting conditions for drone surveys. The clouds act as a filter that softens the light, leading to less intense contrast in shadowing in general and less whitewashing on lighter surfaces.
Time of day
Universally, sunny or cloudy, the best time of day to fly is at high noon. At high noon, shadows are their shortest, and thus have less of a chance of hiding usable data. Try to avoid flying early in the morning or later in the afternoon.
We can’t control the weather, but at the very least, try to fly during consistent lighting conditions. Changing lighting conditions will create an orthophoto that might look undesirable.
Finding the right time to fly can be a difficult balancing act in the real world. You don’t need to wait for the “perfect” overcast day in order to fly, as we can produce great results in many lighting conditions. However, if the lighting conditions are too poor, there may not be anything we can do.
Avoiding Motion Blur
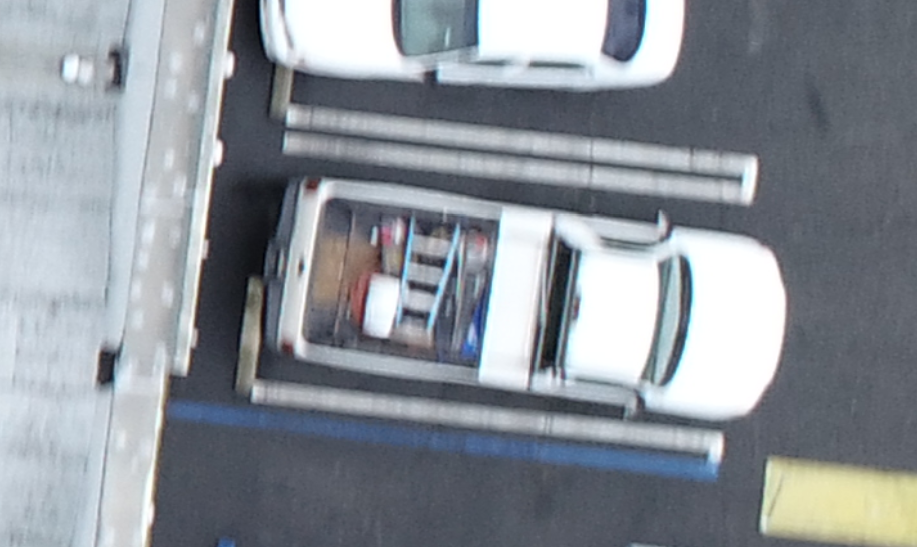
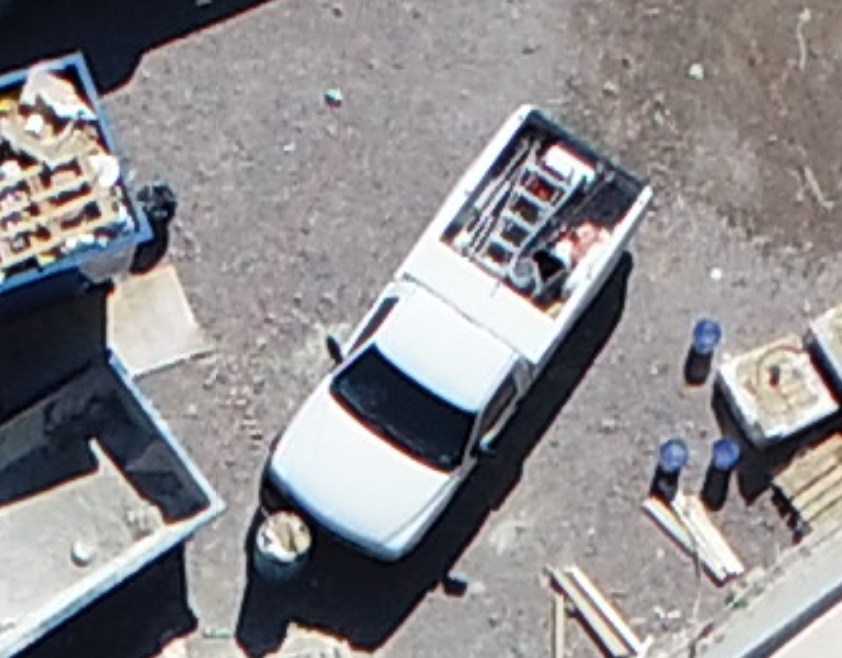
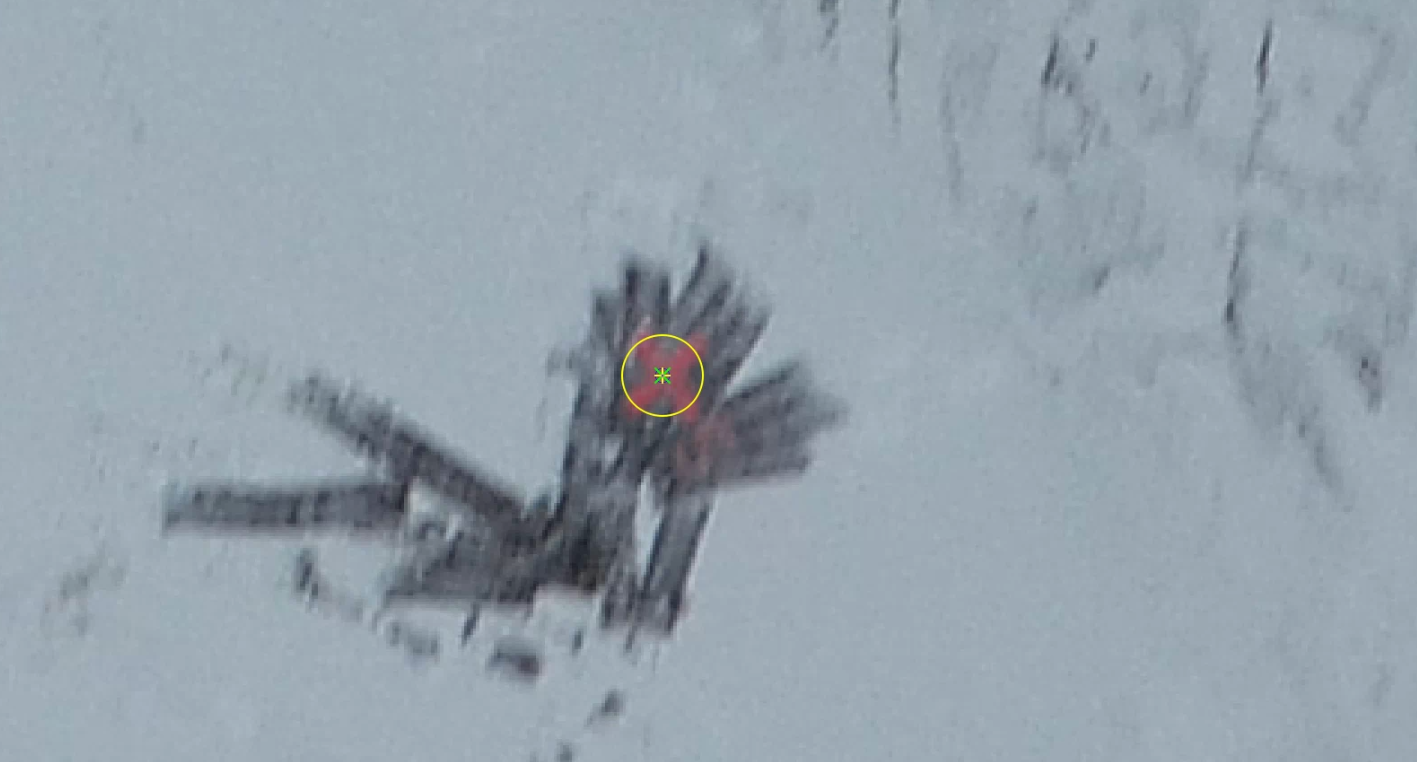
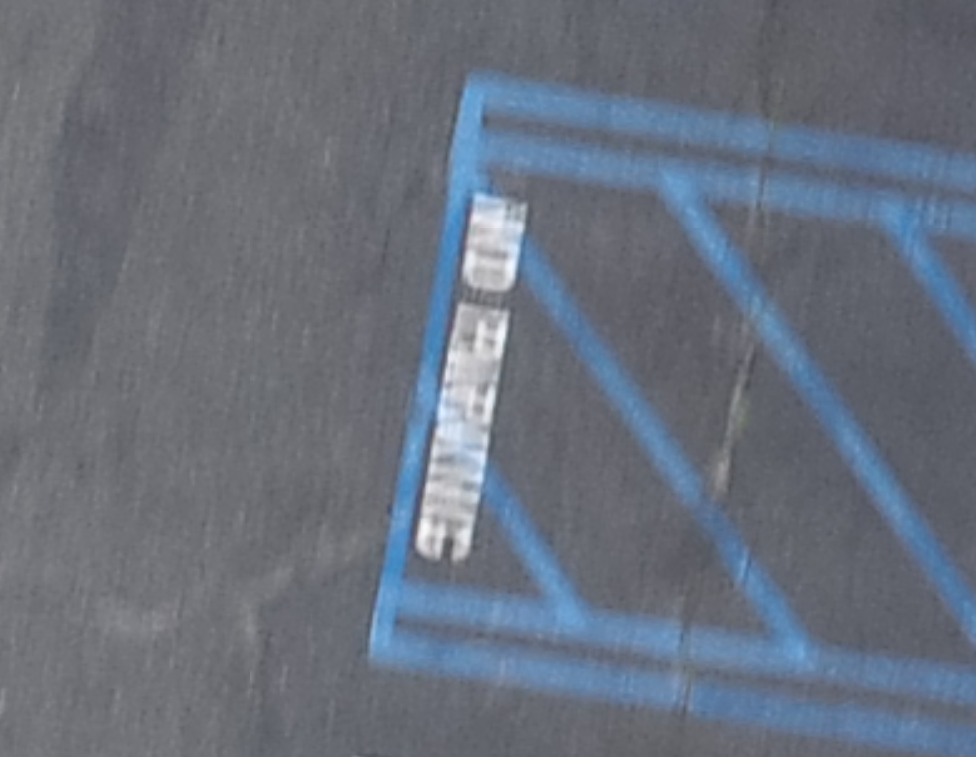
Motion blur occurs when the subject (or the camera in our case) moves during the time that the shutter is open on the camera. This causes an apparent streaking effect that can be identified fairly easily in photos. This can lead to difficulty marking features and can introduce some error into the project. Pretend the corner of blue paint striping in the motion-blurred picture below is a GCP. How would you know exactly where to mark it? The same applies to all feature marking with motion-blurred photos as well.
There are two factors involved in thwarting motion blur; lighting and speed of the drone relative to flight altitude.
Lighting
Speed
There are a couple of ways to combat motion blur. Most mapping software snaps pictures while the drone is on the move, the advantage to this is that it’s efficient and quick, and if the shutter is closing fast enough compared to the relative motion of the ground, motion blur does not impact quality.
The brighter the lighting outside, the shorter amount of time your shutter needs to remain open in order to produce a properly exposed photo. The problem can come into play when low lighting occurs and the speed of the drone remains constant. The shutter stays open longer in lower lighting conditions and therefore the camera moves more during that single frame capture, causing more motion blur.
Map Pilot has a setting called, “slow aircraft according to light conditions,” which combats motion blur due to lighting. What it does is exactly in its name, it slows the aircraft in low lighting conditions to reduce motion blur. If you have Map Pilot, be sure this setting is turned on if you are flying in low light conditions.
If you do not use Map Pilot, you can reduce motion blur in low lighting conditions by flying slower.
Related to lighting, the distance you are from the ground will impact how fast the relative motion of the ground is to the camera. At 100’ from the ground, a drone moving at 5mph will cause the ground to look like it is moving faster than a drone at 400’ moving 5mph. This relative speed of subject movement through the frame directly impacts motion blur as well.
The higher you fly the faster you can fly without motion blur, the lower you fly the slower you must fly to avoid motion blur.
Common Mistakes
Below are a few common mistakes/misconceptions in drone surveying that can negatively impact data quality.
Dirty Lens
A dirty lens can wreak havoc on your project because it will blur a portion of every photo! Even one water spot on the lens can lead to issues. Be sure to clean your lens before every flight.
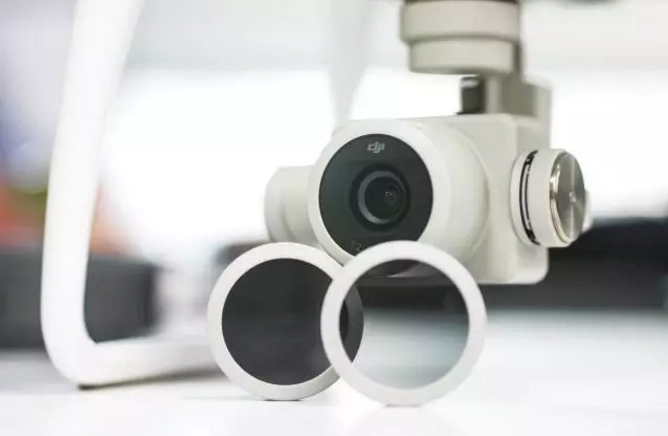
DO NOT Use Filters
Using filters may sound like a good idea to reduce glare or change lighting, but in reality, they just cause more problems than they solve. Whenever you put another layer over your existing lens/lens cover, you are undoubtedly distorting the imagery a bit. It is always best to forgo the filters if you have them.
Adjusting exposure
A lot of times it is tempting to adjust the exposure value on the drone in order to brighten or soften some areas of photos. Doing this is redundant because your camera will automatically adjust for the lighting conditions at hand to best represent the photo. Doing it manually is pure guesswork and virtually always will over or underexpose certain parts of your photo.
Turning off “Auto Focus”
Changing the focus of the sensor, much like adjusting exposure, causes the camera to abort its auto focus function. This can lead to unfocused imagery in areas. Be sure to leave your auto focus on.
If you would like to discuss ways to improve your drone program Aerotas is here to help.
INCREASED FLEXIBILITY | SAVE TIME | BETTER DELIVERABLES
Contact us anytime at (949) 335-4323, or support@aerotas.com