
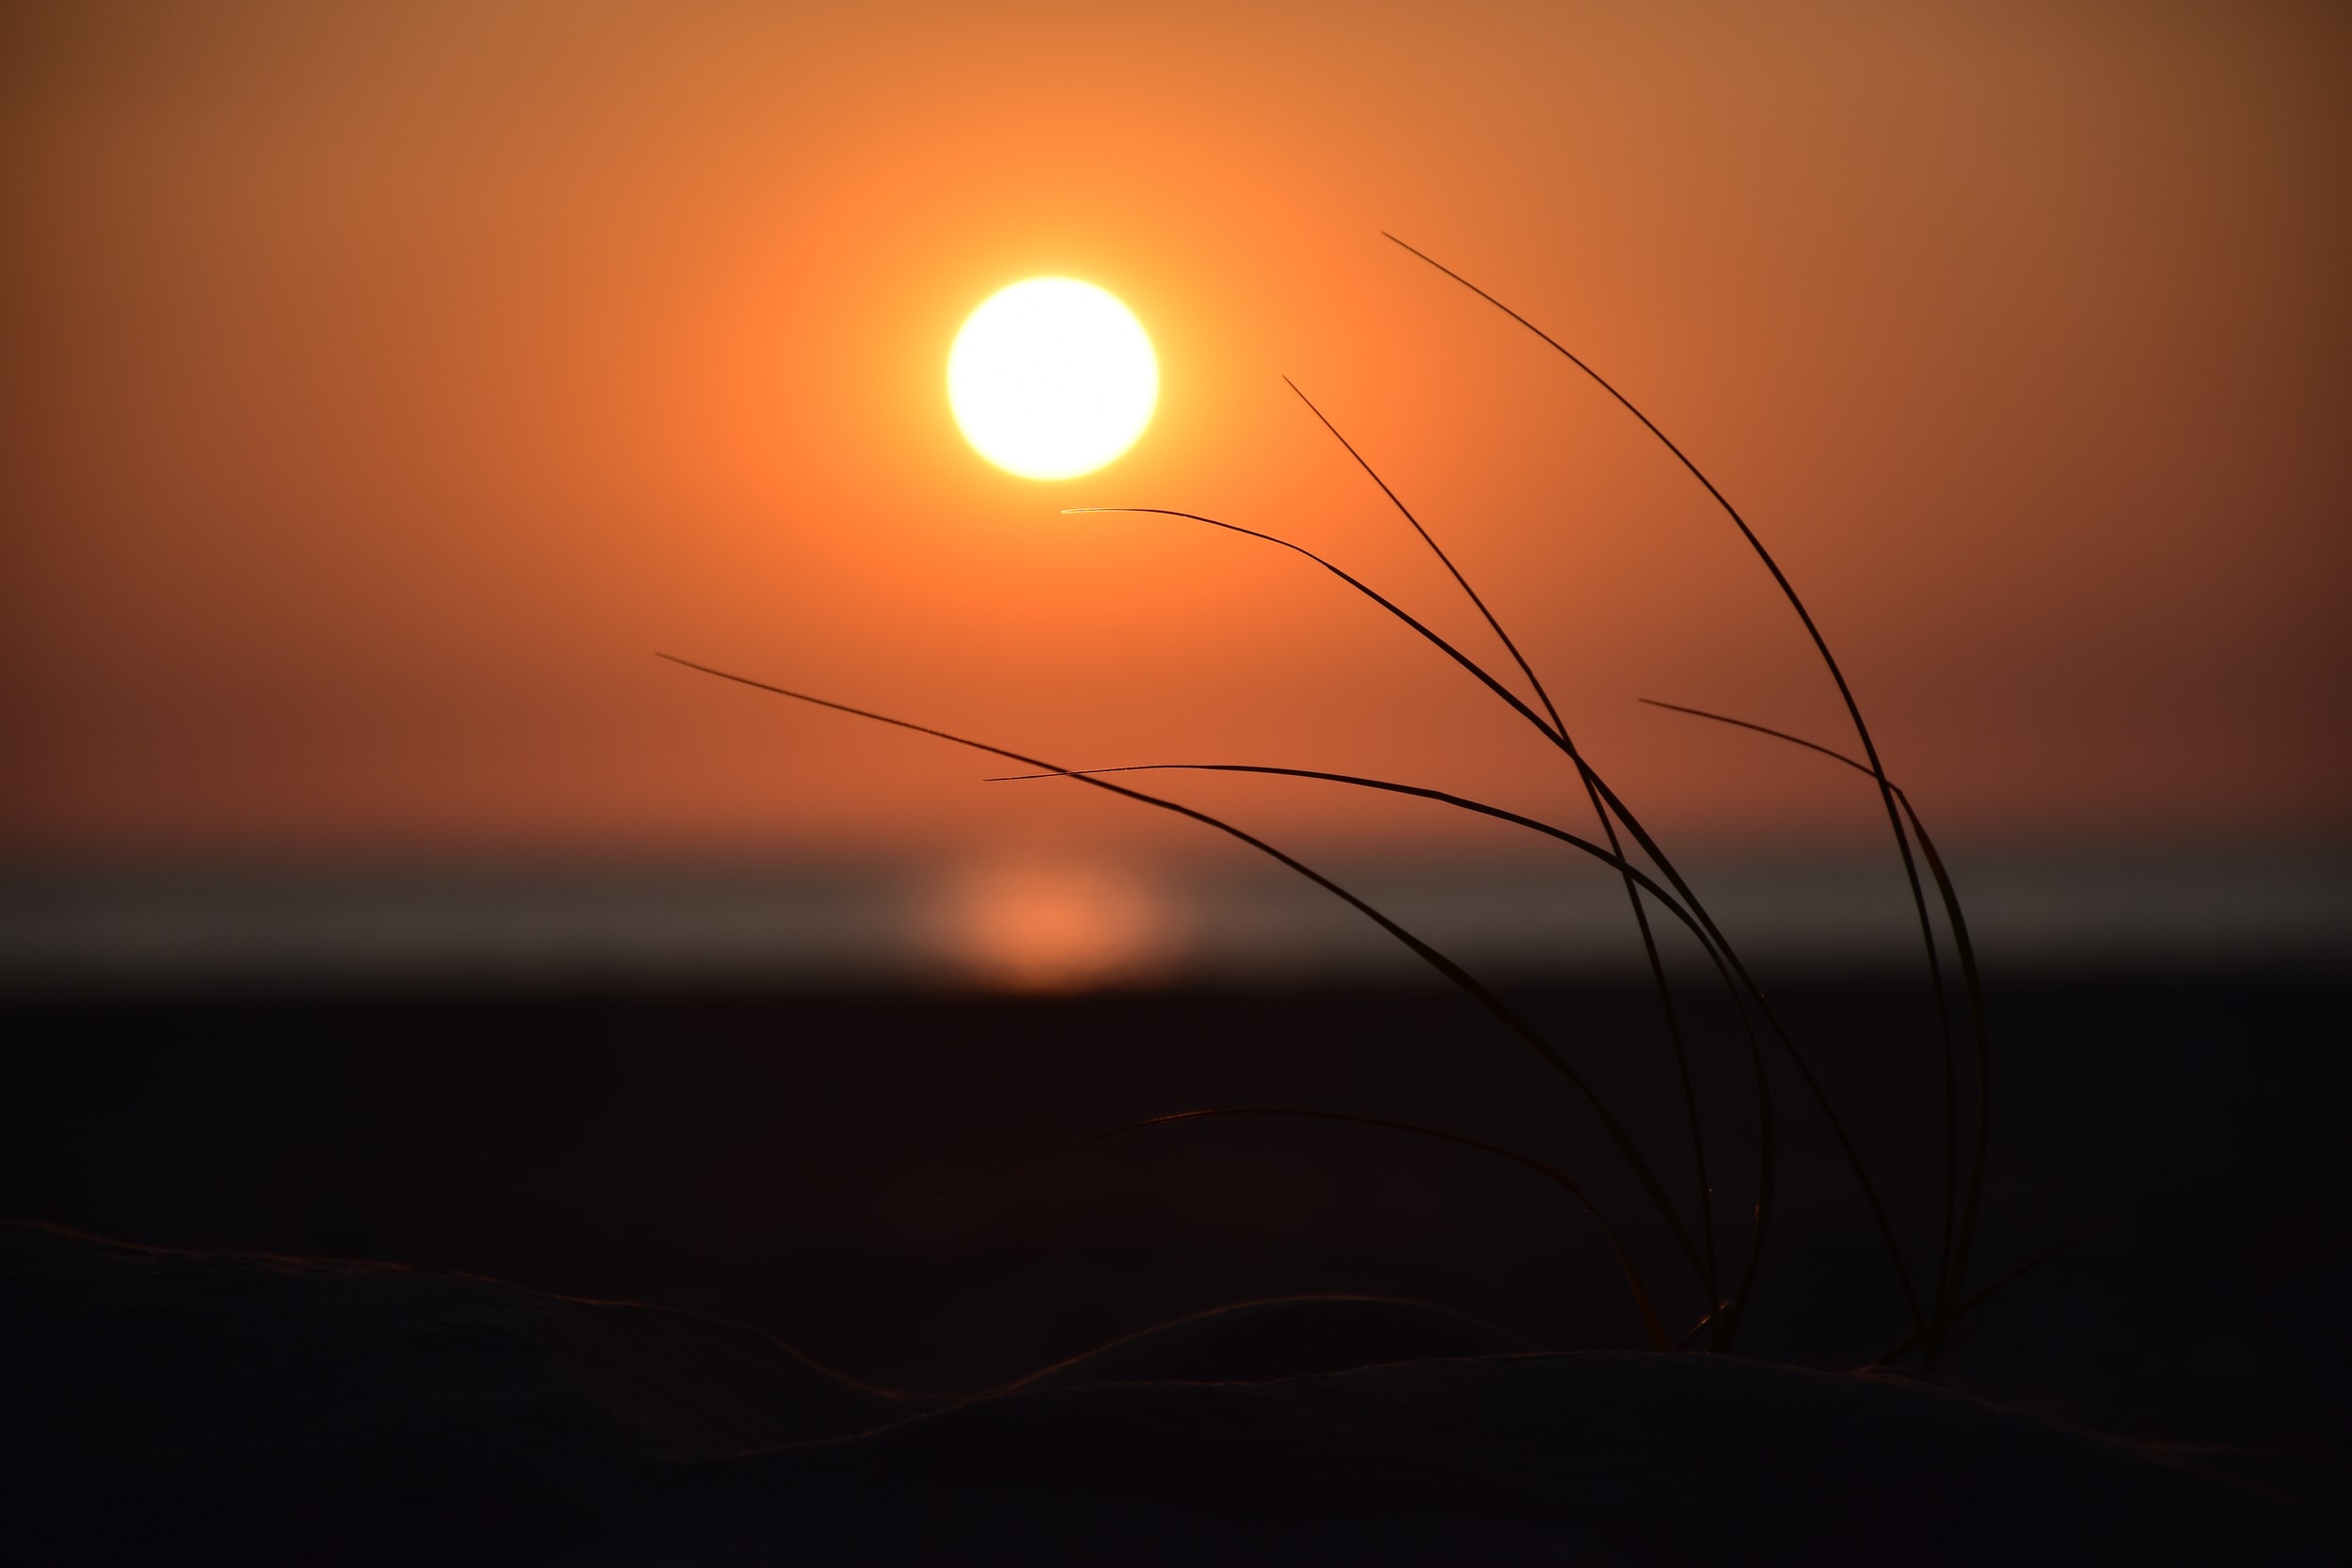
Short Days, Long Shadows
How-To Collect Survey-Grade Drone Data in the Winter
Tips to get the most out of your drone data during the colder months
As Fall and Winter descend upon us in the Northern hemisphere, finding the daylight to get everything done can become more challenging. Most of us across the country have set our clocks back for the season and are preparing for the colder months. Shorter days mean less optimal lighting and weather for drone surveys. Here’s how to keep collecting high quality, survey-grade drone data during the Winter months.
Avoid Shadows
Shadows cause areas of high contrast in photos. The stark difference between a shadowed area and a sunny area leaves most drone cameras unable to find a happy middle ground. This juxtaposition can overexpose the light areas to capture more of the shadowed regions. Or, more likely, it will underexpose the shaded areas, leaving it difficult to discern features in the dark imagery.
This difficult to discern imagery is equally tricky on the software that uses keypoints to match one photo to the next. This ambiguity leads to noise in the data and, subsequently, a less accurate deliverable.
The ideal way to avoid shadows is to fly on a calm, overcast day with very little wind. Overcast days provide muted lighting conditions that virtually eliminate any shadow casting whatsoever (just make sure it’s not raining or snowing). If you find yourself with one of these days in the forecast, it will behoove you to plan your drone survey for that day as you will get the most consistent muted lighting conditions for optimal data collection.
It is not always possible to avoid the contrast creating sun, so there is a contingency plan, and that is to fly around midday when shadows are least pronounced laterally. The window of “midday” becomes smaller in the winter months. Depending on where you are in the country, the time of day that the sun casts its shortest shadow will vary, but this is the time of day to target your drone flights around. Avoid flying on sunny mornings or evenings when the shadows are longest.

Flying in low lighting
Since the sunlight is not as direct, you can expect more relatively low lighting scenarios in the Fall and Winter. Marginally lower lighting is just fine for photogrammetry, so long as your camera and drone can make the necessary adjustments. Understanding what adjustments you need to make for low lighting will allow you to recognize possible problems if your drone is not adjusted accordingly.
Cameras operate by opening and closing a shutter at a given speed to allow a certain amount of light. As lighting gets lower, the camera’s shutter has to stay open longer to capture the correct amount of light to produce a usable image. This shutter speed is usually automatic on most survey drones, so you shouldn’t have to worry about that. The main concern is the drone’s speed while the camera is opening and closing its shutter.
Suppose the shutter is open longer while the drone is moving forward. In that case, the relative motion of the ground is more significant in the imagery; this creates a “dragging” or “streaking” effect called “motion blur.”
Motion blur adds noise to the data, and surveyors should avoid it when possible. The best way to prevent motion blur is to slow down the drone while on its mission. Some mapping software has the drone stop while it takes a picture to avoid this altogether. This feature can be excellent for this purpose, but it adds a considerable amount of time to your missions compared to a continually moving drone.
Our mapping software of choice, Map Pilot, has a setting called “Slow aircraft according to light conditions,” which can help mitigate the effects of motion blur in low lighting. We recommend keeping it on if you are planning a marginally low light flight.
Most mapping software allows you to change the speed of flight manually. The Phantom 4 RTK provides a speed range during mission planning, usually defaulting to a happy middle ground speed. We typically recommend leaving this at default. However, if you plan a marginally low light mission, you may want to slow it down a meter or two per second.
As you might realize, slowing down your aircraft will increase the mission’s total time and, therefore, will utilize more batteries. Keep this in mind if you do decrease your drone’s speed and account for it in planning. Whatever you do, you should not increase the drone’s speed. Even in good lighting conditions, increasing the drone’s speed can lead to motion blur, especially at lower altitudes where the ground’s relative motion to the camera is more significant.
Build-in Redundancy and Use your Checklist
It might be harder to go back out to a project site with less daylight to collect additional data if your first drone flight wasn’t sufficient. Especially now, you will want to build some redundancy into your drone flights.
There are a few ways to build in redundancy and reliability when it counts:
Overfly your area of interest
Overflying your area of interest is an essential concept for quality data collection but is one of the more common problems we see. The drone flight should fully cover your area of interest. Rich data comes from the areas of the flight that the drone captures from all angles. GCPs must be surrounded by rich data as well. The perimeter photos on any drone flight are NOT rich with data; keep this in mind when planning your missions and setting your control points on any given project. We generally recommend flying at least 1-2 flight lines past your furthest GCP or your data boundary, whichever is closer to the edge of your flight.
Set more GCPs
Set a couple more GCPs on your site to account for the possibility that one gets moved or has an error in the measurement. Learn more: Ground Control Best Practices
Fly the site twice
Have a small one battery flight in an area that would be inconvenient to revisit? Fly it two or three times for redundancy*. While it doesn’t make sense to re-fly a twenty battery mission that takes you all day, it might be worth it to re-fly a smaller one. Use your best judgment.
*This does not mean that you should submit all of this data to Aerotas; please only submit one flight to us and keep the remainder as a backup. If additional data is required, we will always reach out to you.

Use your Checklist
Use your Aerotas drone survey checklist for any mission. Following the checklist will ensure that you don’t make a simple misstep. Following a checklist is not about teaching a novice how to do something. Instead, checklists ensure reliability and repeatability. Checklists are about making sure you don’t forget the little things that can significantly impact an entire operation. Even the most seasoned pilots use checklists; they are the one surefire way to ensure that you don’t miss anything.
If you would like to discuss ways to improve your drone program Aerotas is here to help.
INCREASED FLEXIBILITY | SAVE TIME | BETTER DELIVERABLES
Contact us anytime at (949) 335-4323, or support@aerotas.com