

Spring Cleaning Checklist
Keep your drone airworthy
In order to maintain the reliability of our drone, we need to inspect and update our equipment on a regular basis. After a long winter, or prolonged bad weather, or even just lack of suitable jobs for the drone, it is important to thoroughly run through all of your system and visual checks before firing up the drone for a client mission.
Visual Inspection
Visual inspection of the hardware is the first maintenance task you should perform. This will expose any physical defects in the system. We don’t expect you to find random broken parts, but verifying everything is in good condition is always better than missing a flaw that may lead to other complications. Who knows, maybe the drone was dropped prior to being put away for the season, you never know until you actually know; trust, but verify.
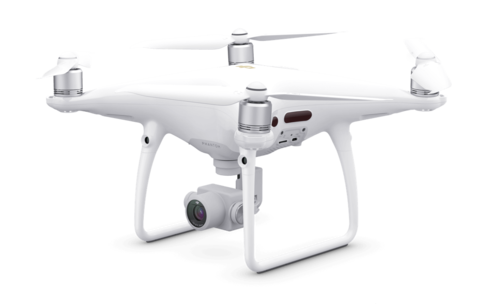
Aircraft

To physically inspect the system, start with a visual inspection of the airframe as a whole. Place it on a flat surface; does it sit correctly on its landing gear? Are there any obvious imperfections?
Now run your finger along the mid-seam on the hull of the aircraft. We are checking for inconsistencies in the seam, this can indicate stress on the airframe. The seam should be uniform around the entire perimeter of the drone.
Next, check the landing gear, here we are looking for any cracks or chips that may impact the structural stability.
Moving on from here give the vision system a once over, make sure there is nothing in or on the sensors.
Now it’s time to check the camera and gimbal. Gently move the gimbal with your fingers, being careful not to touch the lens. Be sure it is free moving and the lens is free of any smudges.
From here, we will check the motor bells. Be sure each motor bell is free moving and is not making any sort of grinding noises. It is a good idea to blow into the motor bells to clear out any dust or debris that may have settled in them. Do not use compressed air on them as this may dislodge sensitive parts within the bells.
Lastly, check the propellers (this is easier done after attaching them to the drone). Run your fingers down each edge of the propellers, checking for any nicks or cracks.
Lightly twist each propeller blade, this will expose any hidden cracks that may be in the propellers.

Controller
The transmitter or remote controller should be taken out and inspected as well. Check that all of the control surfaces are free moving and that all of the buttons are functioning and not stuck.
Extend the antennae and inspect them to make sure there is no physical damage.
Check the screws on the display mount, make sure they’re secure and adjusted to your desired level.
Batteries

Each battery should be inspected systematically as well. To check the general health of the batteries, press the button on top of the battery, you should see it light up. If it does not light up, it might be completely drained, which is not ideal. Be sure the batteries are stored between 40% and 60%.
Rotate the battery 90 degrees and inspect the surface of the cells. They should be uniform, without any bubbles, and the cell should not move within the outer casing.
Rotate the battery another 90 degrees and inspect the pins on the bottom. Be sure there is no debris in the pins and that they are all intact.
Rotate the battery 90 degrees and inspect the cell on the other side.
Now check the sides of the battery. Hold the battery up to a light source and look through the vents. You should be able to see clear through the vents. If you see any blockage, blow through the vent to clear the blockage; if this doesn’t work, the cell may be swollen internally, and should not be used.
Inventory
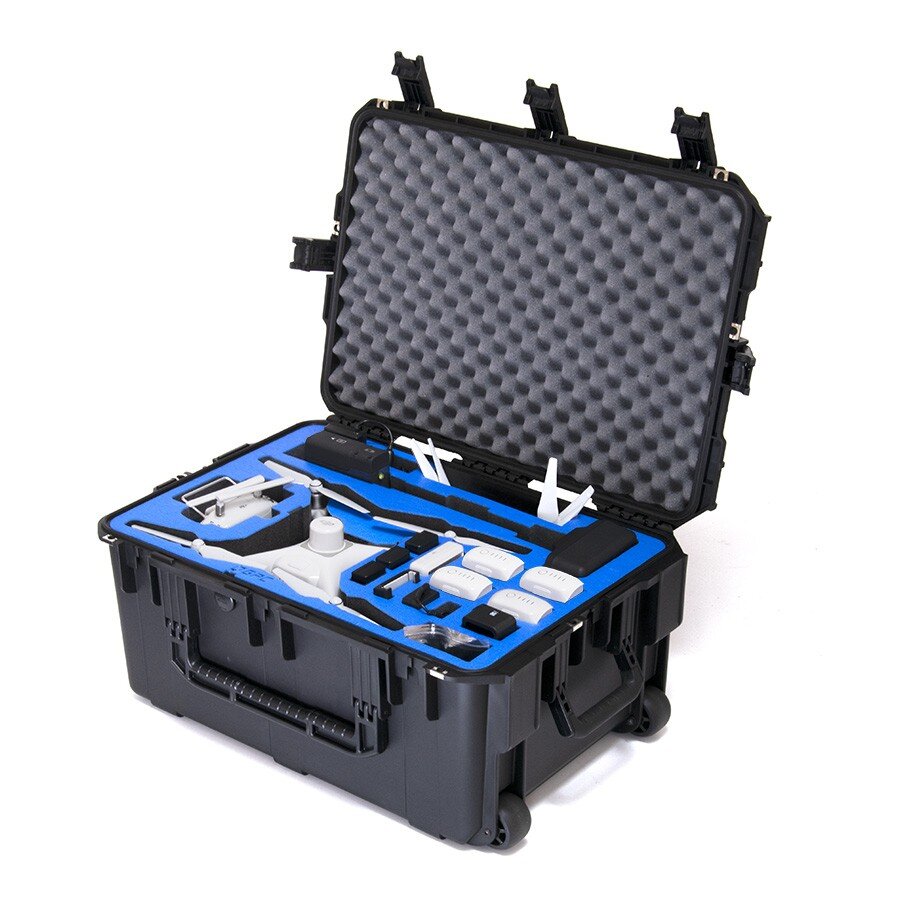
After you have physically inspected all of the hardware, inspect your kit contents, and see if there is anything missing or if anything needs to be replaced. Things to check for:
Multiple SD cards
Be sure to format all of your SD cards, to make sure you're starting out with a clean slate
Microfiber cloth
Aerotas Flight Logs
Data cables and adapters
(P4P) At a minimum, you should have an extra lightning cable for your iPad, a USB to micro USB, and a lightning to micro USB adapter.
(P4RTK) At a minimum, you should have a USB to Micro USB, a USB to USB-C, a micro USB adapter, and a USB-C adapter.
Touchscreen pens
Updating your UAS Software / Firmware
Even though you might be using the same drone you used a year ago, the technology behind the hardware itself is constantly being updated. Although there may not be a newer version of your physical drone, there is probably a newer version of the software or firmware, and if not, it’s right around the corner. Apps are also constantly being updated to keep compatible with operating systems, which are also constantly being updated in order to improve the systems as a whole. Updating these systems* will keep everything current and allow all systems to function harmoniously.
*It is important to note that these systems should be updated in the order they are written here, as some updates will not run if the platform itself is not updated first.
iPad / Tablet

The first thing to check will be your iPad/tablet (skip over this step if using P4RTK).
In the iPad, tap on the “settings” menu. From here, select “General” on the left and tap “software update.” This will open a menu that will show if you have an available software update, tap, “download and install” and follow the instructions on the screen. This may take 10-15 minutes to complete on its own.
DJI Geozone Update
DJI’s geozone system prevents accidental flight into controlled airspace and the boundaries of these zones are frequently updated and changed based on the level of restriction. If left un-updated, the drone may not operate in congruence with the current models on DJI’s self-unlocking site and can prevent you from flying altogether.
Be sure you have an active internet connection on your tablet. Plug in your tablet to the controller and power on the controller and aircraft (be sure your propellers are off when turning the drone on indoors).
Open the DJI go 4 App. Upon loading, if the geozone needs updating, a pop-up window will appear; select the option to update the geozone database. This should take 1-2 minutes at most.
Firmware Updates
Phantom 4 Pro
After updating the geozone, you will be at the main menu of the DJI Go 4 app. If a firmware update is available, the status bar in the upper left of the screen will appear and prompt that there is a new firmware update. Tap this bar and follow the on-screen instructions. The firmware update can take up to 20 minutes to fully download and update depending on what the update contains.
As the update progresses, the drone will turn on and off a couple of times. At the end of the update, you will likely be prompted to unplug and replug in the data cable connecting your iPad to your controller.
Phantom 4 RTK

For P4RTK aircraft. The controller, aircraft, and base station firmware all can be updated from the controller itself.
To update the firmware, click the “device firmware” option at the bottom right of the controller and sign into your DJI account on the controller itself if prompted.
If there is a new firmware version, there should be a red “new” box next to the latest version. Tap “update.”
Tap “download” and follow the on-screen prompts.
The device should now begin downloading and updating. In order to update the aircraft and base station, you may be prompted to plug in the USB cable from the controller to the aircraft or base station.
*At times, DJI firmware updates can be glitchy and fail, depending on internet signal strength and other factors. If this method is not working, download the DJI Assistant 2 for Phantom found here — https://www.dji.com/downloads/softwares/assistant-dji-2-for-phantom
Once the program is running, simply sign in to your DJI account (credentials on the back of the tablet) and plug the powered-on device that needs updating into the computer via USB cable. Click the device once it appears in the program and follow the on-screen instructions for firmware updates.
Fly a test site
After you have confirmed your UAS physical integrity and successfully updated all of its system firmware and hardware, it is important to make sure all of the systems are working in unison as intended. Flying a small test site will confirm that everything is working as intended, prior to using the UAS on an actual client project, when it matters.
Create a mission in your autopilot software, and fly that mission. Confirm that the drone followed its flight path and collected data along the way. As long as there are pictures being taken in the correct quantity, we can confirm that the system is working as intended.
Following these steps will bolster confidence in your UAS and reliability of your system as a whole. Don’t get left in the dust this spring!
If you would like to discuss ways to improve your drone program Aerotas is here to help.
INCREASED FLEXIBILITY | SAVE TIME | BETTER DELIVERABLES
Contact us anytime at (949) 335-4323, or support@aerotas.com